

Unlocking your Lenovo computer’s full power starts with its basic settings. This guide shows you how to set up key system features that many miss.
The core of your computer’s setup is in its firmware. Knowing about BIOS settings and UEFI settings is key for advanced use.
Many features are hidden until you explore these menus. Our step-by-step guides help you do this safely.
Setting up these core settings can greatly improve your computer’s performance. Follow our expert advice to boost your machine’s power securely.
Understanding Virtualisation Technology and Its Benefits
Before we explore how to enable virtualisation on your Lenovo PC, let’s understand what it is and why it matters. Many makers, like Lenovo, turn it off by default. This means users often miss out on the amazing things their computers can do.
What is Virtualisation Technology?
Virtualisation changes how we use computer hardware. It lets one physical machine act like many separate computers. This is thanks to special hardware that creates isolated areas called virtual machines.
Each virtual machine has its own operating system and apps. They work separately from others on the same hardware. The hypervisor software manages these environments, sharing resources between them.
“Virtualisation technology fundamentally transforms how we think about computing resources, enabling unprecedented flexibility and efficiency in hardware utilisation.”
This tech isn’t just for big data centres. It’s great for anyone wanting to get more from their PC. It’s perfect for developers testing apps on different systems or students exploring various computing setups.
Benefits of Enabling Virtualisation on Your Lenovo PC
Turning on virtualisation on your Lenovo computer brings many benefits. It makes your computing better in many ways. You’ll see improvements in how you work, keep your system safe, and manage it.
One big plus is running many operating systems at once. You can test software on different platforms without needing separate machines. This is a big help for developers and IT folks who need to check software on various systems.
Security is another key advantage. Virtual machines keep apps separate, stopping malware from spreading. They also let you test risky software safely.
For those into containerised apps, virtualisation is key. Modern tools and platforms need it to work. Turning it on lets you use the latest in software development.
Here’s a quick look at the main benefits:
| Benefit Category | Specific Advantages | Ideal For |
|---|---|---|
| Development & Testing | Cross-platform testing, sandbox environments | Software developers, QA testers |
| Security Enhancement | Application isolation, safe browsing | Security-conscious users, researchers |
| Resource Optimisation | Better hardware utilisation, cost savings | Students, small businesses |
| Learning & Education | Multiple OS experimentation, skill development | IT students, technology enthusiasts |
Many users find virtualisation essential once they try it. It lets you test apps, run old software, or try out different operating systems. For a detailed guide, check out this virtualisation guide.
While the benefits are great, setting it up right is key for the best results. The next parts will show you how to check if your Lenovo model can use it and how to turn it on safely.
Prerequisites for Enabling Virtualisation on Lenovo PCs
Before you start with BIOS settings, make sure you’re ready. This means checking if your system can handle virtualisation and keeping it safe.
Checking if Your Lenovo PC Supports Virtualisation
First, check if your processor supports virtualisation. Most Lenovo PCs use Intel VT-x or AMD-V.
To see if your CPU supports it, open Windows System Information. Press Windows + R, type “msinfo32”, and look for “Virtualisation-based Security” status.
Or, use tools like CPU-Z for a detailed check. This step helps avoid BIOS changes that might not work.
Backing Up Your System Before BIOS/UEFI Changes
Changing BIOS settings can be risky. Always back up your system first.
Use Windows Backup or other software to save your data. This step helps avoid mistakes during changes.
Also, make a system restore point. This adds extra safety during the setup.

Gathering Necessary Information: Model Specifics
Lenovo’s BIOS settings differ by model. Know your device series (ThinkPad, IdeaPad, Legion) and exact model number.
Check your BIOS version in System Information. Then, visit Lenovo’s support site to see if you need updates.
Systems like Windows 11 work well with virtualisation. Make sure your system meets all the requirements for the best performance.
For more specific help, check our detailed Lenovo virtualisation enablement guide.
How to Enable Virtualisation Technology on Lenovo PC Computers
To turn on virtualisation on your Lenovo computer, you need to get into your system’s BIOS or UEFI settings. This step is a bit different for each Lenovo model but is similar for most.
https://www.youtube.com/watch?v=vt1hqgJFkpY
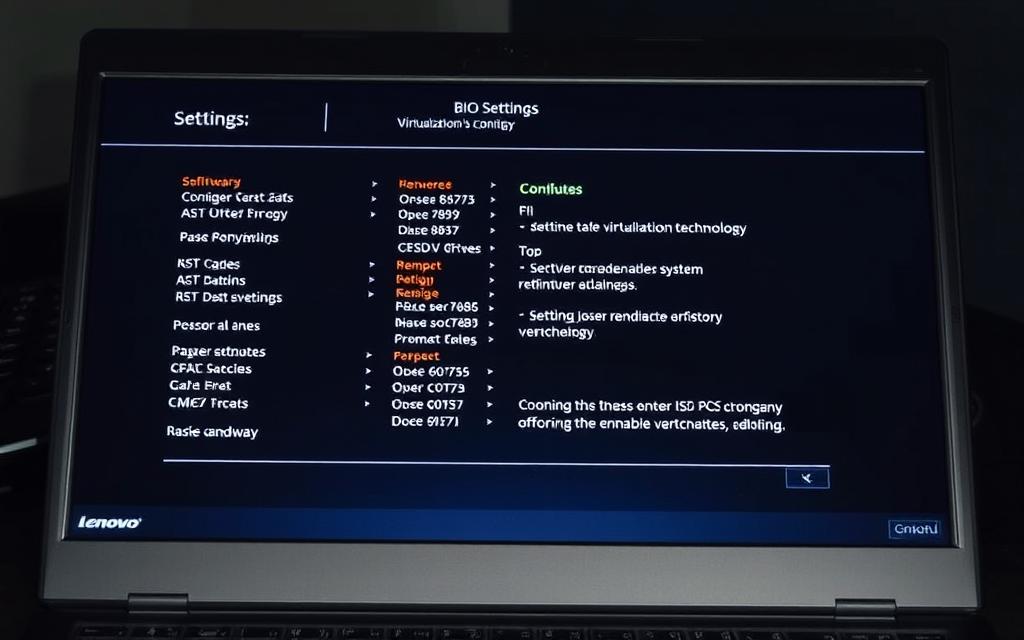
Step 1: Accessing the BIOS/UEFI Settings on Lenovo PCs
To get into your Lenovo’s BIOS/UEFI settings, restart your computer. Then, press the right key during startup. The key you need changes with each model and you have to act fast.
Key Combinations for Popular Lenovo Models
| Model Series | Access Key | Special Notes |
|---|---|---|
| ThinkPad (Intel) | F1 | Press repeatedly during startup |
| ThinkPad (AMD) | F2 | Some models require Fn + F2 |
| IdeaPad | F2 | Hold key during boot sequence |
| ThinkCentre | F1 | Press when Lenovo logo appears |
| Legion Series | F2 | Rapid tapping recommended |
Step 2: Navigating to the Virtualisation Settings
Once you’re in the BIOS/UEFI settings, use your keyboard’s arrow keys to move around. The virtualisation setting is usually in the advanced sections.
Common Menu Locations in Lenovo BIOS
Virtualisation options are often found in these places:
- Security → Virtualisation
- Configuration → CPU Settings
- Advanced → CPU Configuration
- System Configuration → Virtualisation Technology
The exact spot might change with your BIOS version and model. So, take your time to check each menu carefully.
Step 3: Enabling the Virtualisation Option
Find the virtualisation setting, which might be called Intel VT-x, AMD-V, or Virtualisation Technology. Change it from Disabled to Enabled using your keyboard’s function keys.
Saving and Exiting BIOS Correctly
After turning on virtualisation, you must save your changes correctly:
- Press F10 to open the save and exit dialogue
- Select “Yes” to confirm
- Let your computer restart normally
This step is key to making sure your CPU configuration changes work. It also keeps your system security strong while adding advanced virtualisation features.
Verifying Virtualisation is Enabled and Troubleshooting
After you’ve enabled virtualisation in your BIOS/UEFI settings, it’s key to check if it’s working. This step makes sure your system is set up for virtual machines and container apps.
Confirming Virtualisation is Active in Windows
Windows makes it easy to see if virtualisation is on. Just press Ctrl+Shift+Esc to open Task Manager, then go to the Performance tab.
Click on CPU from the left menu. Look for “Virtualisation” in the bottom-right corner. If it’s on, it will say “Enabled”. This means you’ve set it up right.

Common Problems and Solutions
Some people find that virtualisation options are greyed out or missing in BIOS. This usually happens because of hardware limits or security settings.
Manufacturers might turn off virtualisation by default for security. If your system can do it but it’s not showing, try these fixes:
- Make sure your processor supports virtualisation technology
- Check if any security software is blocking it
- Make sure all motherboard drivers are up to date and installed correctly
Handling BIOS Update Requirements
Older Lenovo systems might need a BIOS update to use virtualisation. This update makes sure your hardware works right and unlocks extra settings.
Before updating BIOS, always:
- Back up your important data and system settings
- Get the right update package from Lenovo’s official support site
- Make sure you have a stable power connection during the update
After updating BIOS, go back to your UEFI settings to turn on virtualisation. This usually fixes most problems with modern virtualisation apps.
Conclusion
Turning on virtualisation on your Lenovo computer is easy. You’ve learned to check if your system can handle it. Then, you accessed the BIOS/UEFI settings and found the virtualisation options.
With virtualisation set up right, you can do more with your computer. You can run virtual machines smoothly. This boosts your software development work.
Don’t forget to check if virtualisation is on after updates. Keeping it active ensures your virtual machines work well. This keeps your system running at its best.
Your Lenovo PC is now ready for more complex tasks. It’s great for professional work and testing software. You can use it with confidence, knowing it can handle more.
